How to Paint a Room Like a Pro: Step-by-Step Guide
Quick Summary: Achieving professional painting results comes down to three key elements: thorough preparation (which takes 70% of your time), using quality tools, and applying proper techniques. With the right approach, even first-time painters can create flawless, streak-free walls that rival professional work.
Painting a room might seem straightforward, but there's a significant difference between slapping paint on walls and creating the smooth, professional finish you see in display homes. The secret isn't just in the painting itself—it's in the preparation, tool selection, and technique.
Whether you're refreshing a tired bedroom, updating your living room, or preparing a rental property for new tenants, following professional painting methods will save you time, money, and frustration while delivering results you'll be proud of for years to come.
Essential Tools and Materials for Professional Painting
Quality tools make an enormous difference in your final results. While it's tempting to grab the cheapest brushes and rollers from the bargain bin, investing in proper equipment will actually save you money by reducing paint waste and eliminating the need for touch-ups.
Paint Types and Finishes Explained
Choosing the right paint type sets the foundation for your entire project. For interior walls, you'll typically choose between water-based (acrylic) and oil-based paints, though water-based options dominate the Australian market due to their low odour and easy cleanup.
Acrylic paints are perfect for most interior painting projects. They dry quickly, have minimal odour, and clean up with water. Brands like Dulux Wash&Wear or Taubmans 3 in 1 offer excellent coverage and durability for around $45-65 per 4-litre tin.
Paint finishes dramatically affect both appearance and practicality:
| Finish Type | Best For | Durability | Price Range (4L) |
|---|---|---|---|
| Flat/Matt | Bedrooms, ceilings | Low | $35-50 |
| Low Sheen | Living rooms, hallways | Medium | $40-60 |
| Semi-Gloss | Kitchens, bathrooms | High | $45-70 |
| Gloss | Trim, doors, high-wear areas | Very High | $50-75 |
For most bedrooms and living rooms, a low-sheen finish provides the perfect balance of durability and appearance, hiding minor wall imperfections while remaining washable.
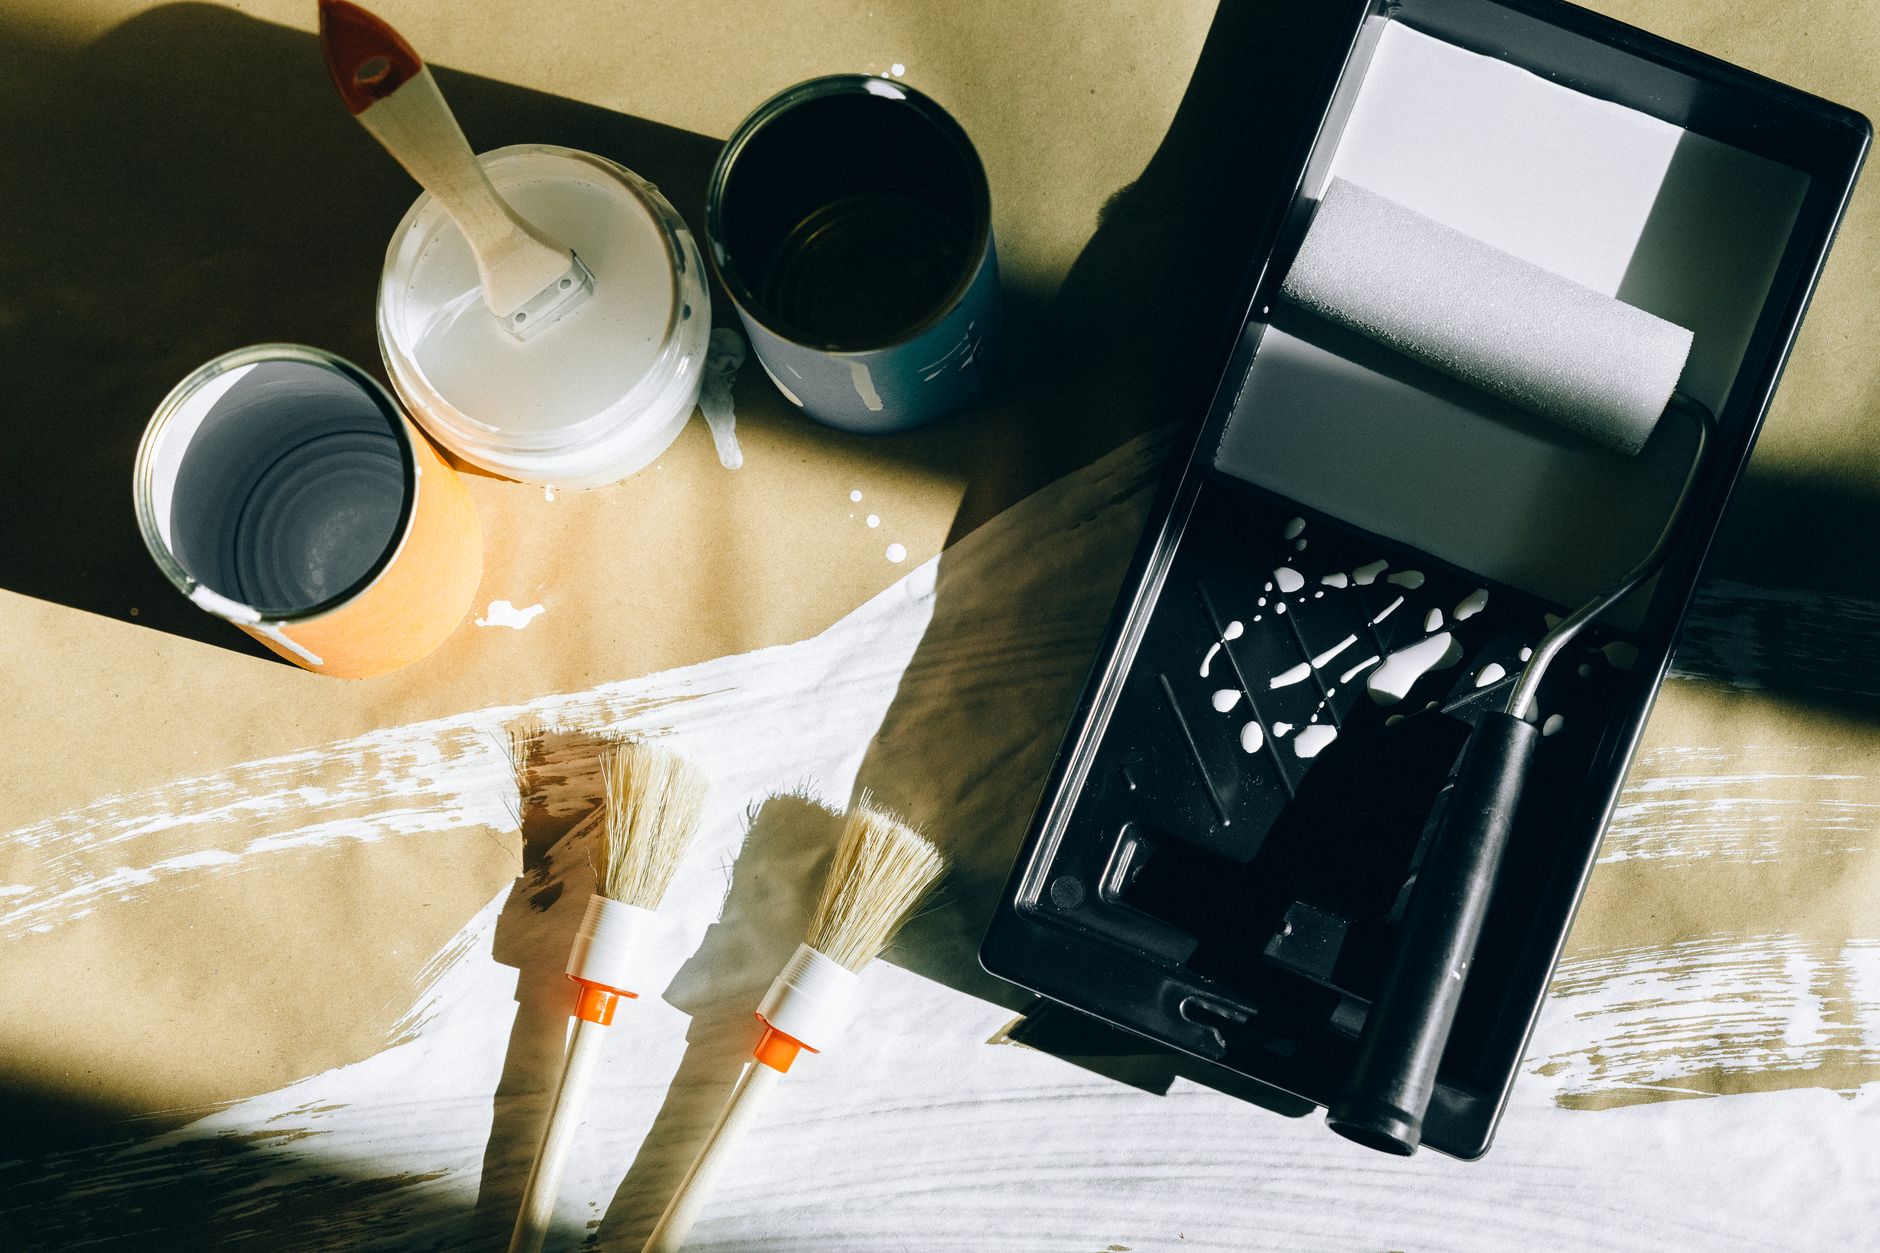
Brushes, Rollers and Equipment You'll Need
Professional painters swear by quality brushes for cutting in around edges. A 63mm angled brush like the Purdy XL Elite costs around $25 but will give you clean, precise lines that cheaper brushes simply can't match.
For rollers, choose based on your wall texture:
- 6mm nap: Smooth walls and ceilings
- 10mm nap: Light texture, most common for Australian homes
- 12-15mm nap: Heavy textures or brick walls
The Monarch 270mm roller frame with quality sleeves delivers professional coverage patterns. Budget around $15-20 for a good frame and $8-12 per sleeve.
Additional essential equipment includes:
- Drop sheets (plastic or canvas, $10-25)
- Paint tray and liners ($8-15)
- Extension pole for high areas ($20-30)
- Quality masking tape like 3M ScotchBlue ($12-18)
- Sandpaper (120-grit, $5-8)
- Sugar soap for cleaning ($8-12)
Room Preparation: The Foundation of Great Results
Professional painters spend roughly 70% of their time on preparation—and for good reason. Proper prep work is what separates amateur-looking paint jobs from professional results that last for years.
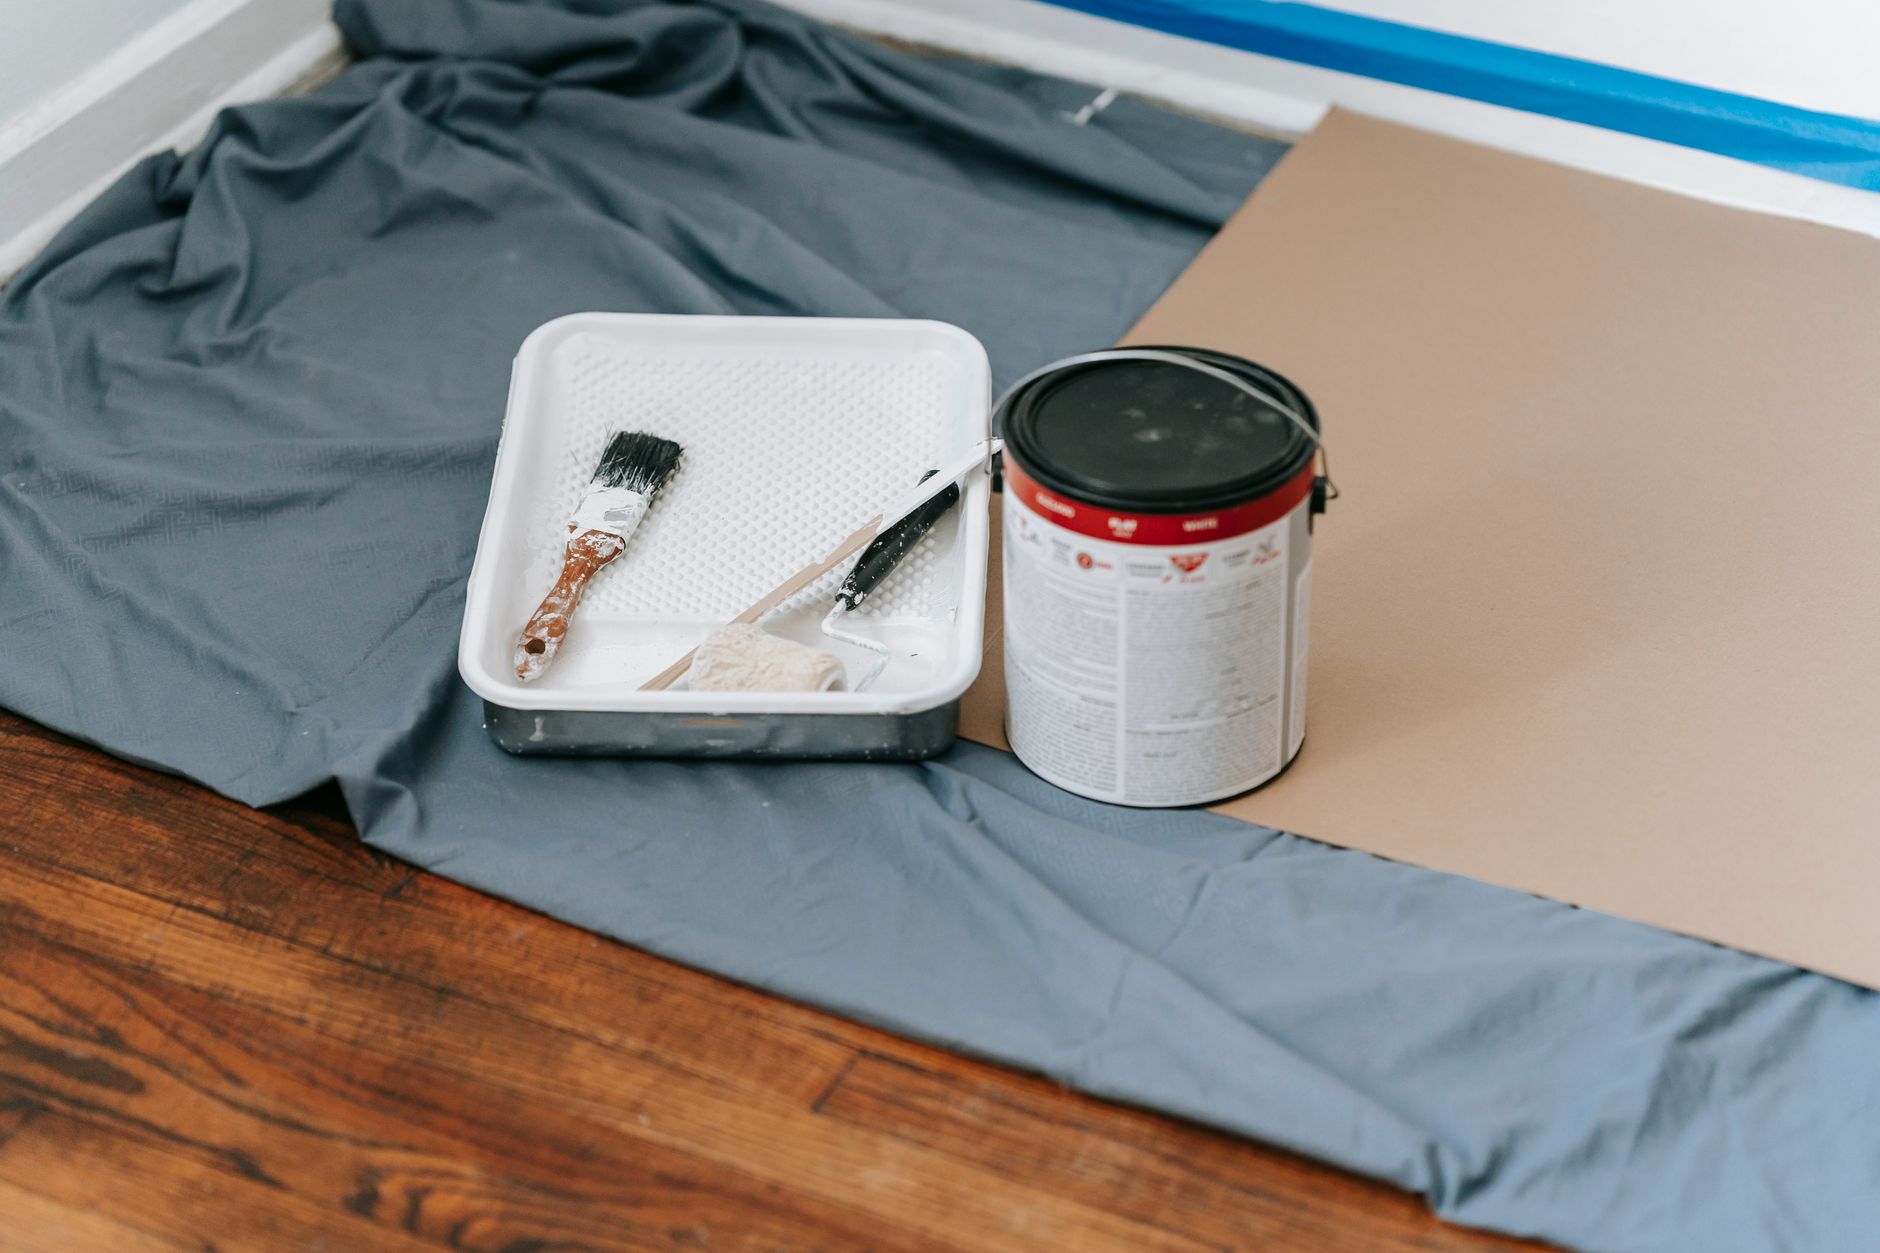
Protecting Furniture and Floors
Remove as much furniture as possible from the room. For pieces that must stay, move them to the centre and cover completely with drop sheets. Plastic sheets work fine for short-term protection, but canvas drop cloths are worth the extra cost if you're painting multiple rooms—they don't slip around and actually absorb spills rather than spreading them.
Protect your floors with proper drop sheets that extend at least 30cm from the walls. Tape the edges down securely; paint has a way of finding its way under even the smallest gaps.
Cleaning and Repairing Wall Surfaces
Clean walls with sugar soap solution, paying special attention to areas around light switches, door handles, and anywhere hands regularly touch. Grease and dirt prevent paint from adhering properly, leading to peeling and uneven coverage.
Fill any holes or cracks with quality filler. For small nail holes, Selleys Spakfilla works perfectly and costs around $8. Larger repairs may need two coats, with light sanding between applications once dry.
Sand glossy surfaces lightly with 120-grit sandpaper to create "tooth" for the new paint to grip. This step is crucial when painting over existing gloss or semi-gloss finishes.
Taping and Masking Like a Pro
Quality masking tape makes all the difference. Cheap tape bleeds, leaving fuzzy edges that scream "DIY job." Invest in painter's tape designed for your surface—delicate surfaces need special low-tack versions.
Apply tape carefully, pressing edges down firmly with a putty knife or credit card. Remove tape while the paint is still slightly wet for the cleanest lines—waiting until it's fully dry often pulls up paint with the tape.
Primer Application: When and Why You Need It
Do I need to use primer when painting interior walls? The answer depends on several factors, but primer is essential when:
- Painting over dark colours with lighter ones
- Covering stains, crayon marks, or water damage
- Painting new drywall or plaster
- Switching paint types (oil to water-based or vice versa)
- Working with bold or vibrant colours
Quality primer like Dulux 1Step Prep costs around $35-45 per 4 litres but can save you from needing multiple topcoats. It also ensures even colour coverage and helps your topcoat last longer.
Apply primer using the same techniques you'll use for your topcoat—cut in edges first, then roll the main areas. Don't skip this step thinking you'll save time; you'll likely need extra topcoats without proper priming.
Professional Painting Techniques
The difference between amateur and professional results lies in technique. Professionals develop systematic approaches that ensure consistent, smooth coverage without visible brush marks or roller patterns.
Cutting In Around Edges and Trim
How to cut in paint around ceiling and skirting boards properly starts with the right brush technique. Load your angled brush with paint, but don't overload it—excess paint leads to drips and uneven lines.
Hold the brush like a pencil, about 2-3cm from the ferrule (metal band). Start your cut-in line about 5cm away from the edge, then gently guide the brush toward the trim while applying light pressure. The key is smooth, confident strokes rather than tentative dabbing.
Work in 1-2 metre sections, maintaining a wet edge to avoid lap marks. Professional painters often cut in the entire room before rolling, but beginners should work in smaller sections to keep edges manageable.

Roller Technique for Smooth, Even Coverage
Proper roller technique eliminates the streaky, textured appearance that marks amateur paint jobs. Start by loading your roller evenly—roll it back and forth in the paint tray several times, then use the textured ramp to remove excess paint.
Apply paint in a "W" or "M" pattern over a 1-metre square area, then fill in with parallel strokes. The initial random pattern helps distribute paint evenly before you smooth it out with consistent, overlapping strokes.
Always maintain light, even pressure. Pressing too hard squeezes paint from the roller core, creating heavy spots and potential drips. The roller should glide smoothly across the surface.
Managing Wet Edges and Avoiding Lap Marks
How to paint a room like a professional without brush marks comes down to managing your wet edges. Never let a section dry completely before painting the adjacent area—this creates visible lines where the two sections meet.
Work systematically around the room, completing entire walls before taking breaks. If you must stop mid-wall, stop at a natural break like a door or window frame rather than in the middle of a flat surface.
In hot weather or low-humidity conditions, paint dries faster, making wet edge management more challenging. Consider using a paint conditioner like Floetrol to extend working time and improve flow.
Troubleshooting Common Painting Problems
Even with careful preparation and technique, problems can arise. Here's how professionals handle the most common issues:
Brush marks and streaks: Usually caused by overworking the paint or using poor-quality brushes. For water-based paints, lightly sand with fine-grit paper and apply another coat with a quality brush.
Roller stipple texture: Occurs when using too much pressure or the wrong nap length. Use lighter pressure and ensure your roller cover matches your wall texture.
Paint drips and runs: Sand smooth when dry and spot-prime if necessary before recoating. Prevention is better—don't overload brushes or rollers.
Uneven colour coverage: Usually indicates insufficient primer or trying to make dramatic colour changes without proper base preparation. Apply additional coats rather than trying to fix with heavier application.
Peeling or poor adhesion: Results from inadequate surface preparation. Unfortunately, this often means starting over with proper cleaning, priming, and preparation.
Finishing Touches and Clean-Up
The final details separate good paint jobs from great ones. Remove masking tape while paint is still slightly tacky—typically 30-60 minutes after application. Pull tape at a 45-degree angle away from the painted surface for clean lines.
Touch up any imperfections with a small artist's brush, feathering edges to blend seamlessly. Keep some paint for future touch-ups, stored in a tightly sealed container with the colour and date clearly marked.
Clean brushes and rollers immediately after use. For water-based paints, warm soapy water works perfectly. Wrap damp brushes in plastic if you're continuing the next day, but never leave them sitting in water.
Store leftover paint properly—seal containers tightly and store in a cool, dry place. Most quality paints remain usable for 2-3 years if stored correctly.

Bottom Line
Achieving professional painting results isn't about expensive tools or secret techniques—it's about following proven processes and paying attention to details. The key factors are thorough preparation (don't rush this step), using quality materials appropriate for your project, and applying consistent technique throughout.
What is the best way to paint a bedroom for beginners? Start with a small room to practice techniques, invest in quality brushes and rollers, and remember that patience during preparation pays off in the final result. Most painting problems stem from inadequate prep work or rushing the process.
Budget around $150-250 for quality tools that will serve multiple projects, plus $40-70 per room for paint depending on size and colour requirements. This upfront investment in proper equipment and materials will save money and frustration while delivering results you'll be proud of for years to come.
Remember: professionals got their skills through practice, not magic. Take your time, follow the process, and don't be afraid to practice techniques on a spare piece of drywall before tackling your walls. With patience and the right approach, your DIY painting project can achieve results that rival professional work.