How to Replace Power Points and Light Switches: Safe DIY Electrical Work
Quick Summary: Australian homeowners can legally perform like-for-like replacements of power points and light switches in most states, but any new installations or circuit modifications require a licensed electrician. Always turn off power at the switchboard, use proper testing equipment, and follow safety protocols to avoid electrocution or fire hazards.
Replacing outdated power points and light switches can instantly modernise your home's appearance and functionality. While many electrical tasks require professional installation, simple like-for-like replacements fall within the scope of legal DIY work for Australian homeowners—if done correctly and safely.
Understanding exactly what you can and can't do yourself will save you hundreds of dollars in electrician fees whilst keeping your family safe and your insurance valid.
What Electrical Work Can You Legally Do Yourself in Australia?
The rules around DIY electrical work vary significantly between Australian states and territories. Generally speaking, homeowners can perform basic maintenance and like-for-like replacements, but any work involving new circuits or modifications to existing wiring must be completed by a licensed electrician.
Like-for-Like Replacements vs New Installations
Is it legal to replace power points yourself in Australia? Yes, but with important limitations. You can legally replace:
- Existing power points with identical or equivalent models
- Light switches with the same type and amperage rating
- Damaged plugs on appliances and extension leads
- Light globes and basic light fittings
However, you cannot legally install new power points where none existed before, add additional circuits, or modify the electrical infrastructure. These tasks require professional certification and must be inspected by authorities.
The key phrase is "like-for-like replacement." You're essentially swapping one component for an identical component without altering the electrical system's design or capacity.
State Differences in DIY Electrical Rules
Each state has specific regulations:
NSW: Homeowners can replace power points, switches, and basic fittings under the "minor electrical work" provisions.
Victoria: Similar rules apply, but any work exceeding basic replacement requires an electrical worker's licence.
Queensland: Homeowners can perform simple replacements but must use approved products meeting Australian standards.
Western Australia: Basic replacements allowed, but stricter rules around testing and verification.
Always check your local regulations before starting work, as penalties for unauthorised electrical work can exceed $10,000 and void your insurance coverage.

Essential Safety Equipment and Preparation
Safety cannot be overstated when working with electricity. Even experienced DIYers can make fatal mistakes without proper preparation and equipment.
Testing Equipment You'll Need
Before touching any electrical component, invest in quality testing equipment:
The Klein Tools NCVT-1 Non-Contact Voltage Tester is essential for confirming power is off. At around $35 from Bunnings, this tool detects live wires without direct contact.
A quality UNI-T UT33D Digital Multimeter provides precise voltage readings and continuity testing for around $25. This ensures circuits are completely de-energised before you begin work.
You'll also need:
- Insulated screwdrivers with proper electrical ratings
- Wire strippers for clean connections
- Electrical tape for securing connections
- A torch or headlamp for adequate lighting
How to Safely Turn Off Power at the Switchboard
Never attempt electrical work without completely isolating the circuit. How to safely turn off power before replacing light switch components requires methodical approach:
- Identify the correct circuit breaker by testing switches and outlets
- Turn off the specific breaker and label it "DO NOT TURN ON"
- Test the circuit with your voltage tester to confirm power is off
- Lock the switchboard if possible to prevent accidental re-energising
Many older homes have inadequately labelled switchboards. Take time to map your circuits properly—this knowledge proves invaluable for future maintenance and emergency situations.
Step-by-Step Guide to Replacing Power Points
Replacing power points follows a standardised process across most installations. The process typically takes 15-30 minutes per outlet once you're properly prepared.
Identifying and Disconnecting Existing Wires
Start by photographing the existing wiring configuration before disconnecting anything. This provides a reference if connections become unclear.
Standard Australian power points use three wires:
- Active (brown or red): Carries current to the device
- Neutral (blue or black): Completes the circuit
- Earth (green/yellow striped): Safety ground connection
Carefully remove wire connections, noting their positions. Clean any corrosion from wire ends with fine sandpaper if necessary.
Installing the New Power Point
Quality replacement power points like the HPM Excel Life Power Outlet cost around $15-25 and offer improved safety features over older models.
Connect wires to corresponding terminals:
- Earth wire connects to the green/yellow terminal (usually marked E)
- Neutral wire connects to the silver/black terminal (marked N)
- Active wire connects to the brass/brown terminal (marked A or L)
Ensure connections are tight—loose connections cause heating, arcing, and potential fire hazards. Fold wires neatly into the wall cavity and secure the power point with appropriate screws.
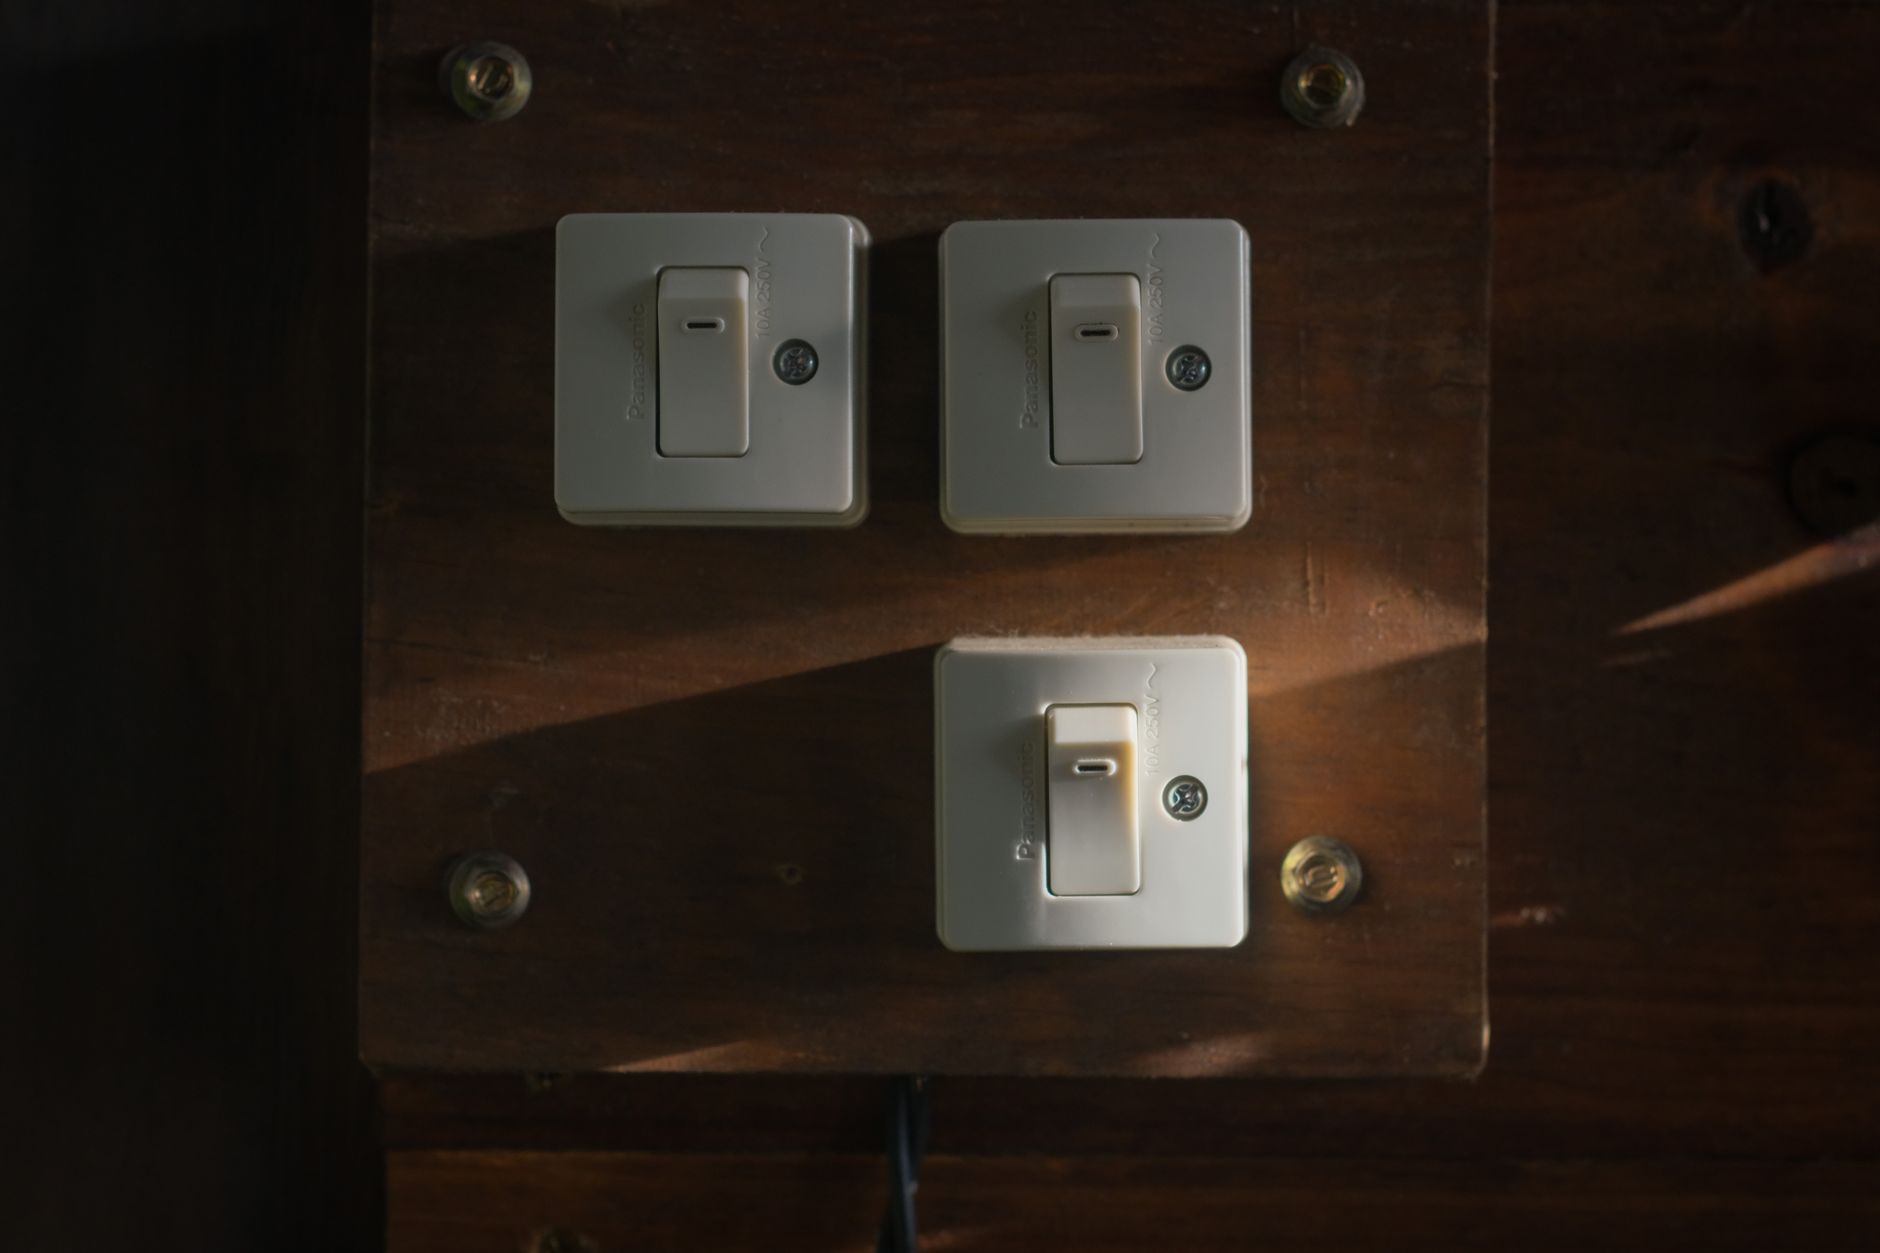
How to Replace Light Switches Safely
Light switch replacement follows similar principles but involves different wiring configurations depending on switch type and functionality.
Single vs Double Switch Replacement
Single switches control one light circuit and typically involve two or three wires. The Clipsal Classic C2000 Light Switch represents excellent value at around $8-12 and fits most standard wall plates.
Double switches control two separate circuits from one wall plate. These require careful attention to ensure each switch connects to its intended circuit. Mixing up connections can create dangerous cross-wiring situations.
Always verify which switch controls which light before disconnecting wires. Label wires with masking tape if necessary.
Wiring Different Types of Light Switches
Standard On/Off Switches: Connect the active wire to one terminal and the switch wire (leading to the light) to the other terminal.
Two-Way Switches: Found at opposite ends of hallways or stairwells, these use three terminals and require specific wiring configurations. If you're unsure about existing two-way switch wiring, consult an electrician rather than guessing.
Dimmer Switches: While replacement is legal, ensure the new dimmer matches the load type (LED, incandescent, or halogen) and maximum wattage ratings.
When You Must Call a Licensed Electrician
Understanding your limitations prevents dangerous mistakes and legal complications. What happens if I do electrical work without a license can include substantial fines, voided insurance, and serious safety hazards.
Professional electricians must handle:
- Installing new circuits or additional power points
- Upgrading electrical panels or switchboards
- Running new cable through walls or ceilings
- Installing ceiling fans, exhaust fans, or hardwired appliances
- Any work requiring building permits or electrical certificates
Warning Signs That Indicate Professional Help Needed
Stop work immediately and call a licensed electrician if you discover:
- Aluminium wiring (common in 1960s-70s homes)
- Knob and tube wiring (pre-1940s installations)
- Multiple wires in single terminals without proper junction boxes
- Burn marks or melting around existing connections
- Unusual wire colours that don't match standard configurations
These conditions indicate potentially dangerous installations requiring professional assessment and remediation.
The Master Electricians Australia approved contractors directory helps locate qualified professionals in your area.
Testing Your Work and Final Safety Checks
Proper testing ensures your replacement work meets safety standards and functions correctly.
Before restoring power:
- Double-check all connections are tight and properly terminated
- Ensure no bare wires are exposed outside terminals
- Verify correct wire placement using your reference photos
- Check that wall plates are securely fastened
After restoring power:
- Test the new component functions as expected
- Check for proper earthing using your multimeter
- Verify no other circuits were affected by your work
- Test nearby GFCI outlets if present
Document your work with photos showing proper connections and note the date of replacement for future reference.
| Component | DIY Legal? | Typical Cost | Professional Cost |
|---|---|---|---|
| Power Point Replacement | ✅ Yes | $15-30 | $150-200 |
| Light Switch Replacement | ✅ Yes | $8-25 | $120-180 |
| New Power Point Installation | ❌ No | N/A | $200-400 |
| Ceiling Fan Installation | ❌ No | N/A | $250-500 |
Bottom Line
Replacing power points and light switches represents one of the most cost-effective DIY electrical improvements you can make. When performed safely and within legal guidelines, these simple upgrades can modernise your home's functionality and appearance for a fraction of professional installation costs.
The key to successful DIY electrical work lies in understanding your limitations, using proper safety equipment, and never compromising on electrical safety standards. If you have any doubt about your ability to complete the work safely, or if you discover unexpected wiring conditions, don't hesitate to engage a licensed electrician.
Remember that your home's electrical system is not the place for experimentation or shortcuts. Proper preparation, quality components, and methodical execution ensure your electrical improvements enhance your home safely for years to come.