How to Fix Uneven Concrete Floors: Self-Levelling Compound Guide
Quick summary: Uneven concrete floors are a common problem in older Aussie homes and can wreck your tiling or flooring job if ignored. The fix is usually a self-levelling compound — a pourable cement-based mix that flows into low spots and sets rock hard. This guide covers prep, product choice, mixing ratios, pouring technique, and how long you need to wait before tiling.
Uneven concrete is one of those problems renovators discover the hard way — usually when a spirit level reveals a 15mm dip in the middle of the lounge room. The good news is that self-levelling compound makes this an entirely DIY-able fix, provided you prep properly and don't rush the pour.
Why Concrete Floors Become Uneven Over Time
Concrete slabs move. It's not dramatic, but over years it adds up.
Common causes of unevenness include:
- Slab settlement — soil beneath the slab compacts unevenly, especially in homes built on clay or reactive soils (common across much of Australia).
- Poor original pour — older slabs, particularly in homes built before the 1990s, were sometimes screeded by eye rather than laser level.
- Moisture changes — expansive clay soils swell and shrink with wet and dry seasons, pushing parts of the slab up or down.
- Wear and damage — chipped edges, old adhesive residue, and patch repairs all create high and low spots.
- Renovation history — removed walls, old tile beds, or filled-in doorways often leave a telltale hump or dip.
None of this means your slab is structurally unsound. Most unevenness is cosmetic and surface-level, which is exactly what self-levelling compound is designed to correct.

Tools and Materials You'll Need
Before you start, gather everything — self-levelling compound sets fast once mixed, so you don't want to be hunting for a trowel halfway through.
- Self-levelling compound (quantity depends on area and depth — see below)
- Concrete primer (bonding agent)
- Long spirit level or laser level
- Mixing paddle and drill (a standard drill will burn out — use a dedicated mixing drill)
- Two clean buckets (20L size works well)
- Gauging rake or spreader
- Spiked roller (to release trapped air bubbles)
- Spike shoes (so you can walk on wet compound without leaving marks)
- Floor patching compound for cracks and holes
- Vacuum and stiff broom
- Builders' plastic or moisture barrier (if required)
- Safety glasses, gloves, and a dust mask
The Ardex spiked roller for self levelling compound is a handy, affordable tool that's easy to overlook but makes a real difference to the finish.
Preparing the Concrete Surface
This is the step most DIYers rush — and the one that causes the most callbacks and failures. Self-levelling compound is only as good as the surface it's bonding to.
Cleaning and Removing Debris
Start with a thorough clean. Any dust, grease, paint overspray, or old adhesive will stop the compound bonding properly, leading to cracking or delamination later.
- Sweep and vacuum the entire area, including corners and skirting lines.
- Scrape off old adhesive, paint, or carpet underlay residue with a floor scraper.
- Degrease any oil or grease stains — a degreaser from Bunnings works fine for most residential stains.
- Check for dampness. If the slab is a ground floor without a damp-proof membrane, you may need a moisture barrier before levelling.
Repairing Cracks and Holes
Self-levelling compound is not a crack-filler. It will flow into small hairline cracks, but larger cracks or holes need patching first with a proper repair compound.
- Fill holes and gaps wider than 3mm with a cement-based patching compound like Dunlop Trade Rapid Patch and let it cure fully.
- For structural cracks (ones that have moved or reopened repeatedly), get a professional opinion before levelling over them — you don't want to mask a bigger issue.
- Once patched, lightly sand or grind any high ridges so the surface is as flat as practical before you prime.
Finally, apply a concrete primer across the whole area. This seals the slab, stops it sucking moisture out of the compound too fast, and significantly improves bonding. Skipping primer is one of the most common reasons self-levelling compound fails.
Choosing the Right Self-Levelling Compound
What is the best self-levelling compound for concrete floors in Australia?
There's no single "best" — it depends on your flooring type, the depth you need to fill, and your budget. That said, a few brands come up again and again with Aussie tradies and renovators:
- Ardex K 301 self levelling compound — a trade favourite, reliable and consistent, around $45–55 per 20kg bag.
- Dunlop Self Levelling Compound — widely available at Bunnings, good for general residential jobs, roughly $35–45 per 20kg bag.
- Bostik Levelemax — popular for larger areas and faster drying times.
Types of Self-Levelling Products
| Type | Best for | Typical depth | Notes |
|---|---|---|---|
| Standard self-levelling compound | General uneven floors before tiling | 2–10mm | Most affordable, widely stocked |
| High-build / deep-fill compound | Slabs with dips over 10mm | Up to 50mm in one pour | Costs more, saves a second coat |
| Fibre-reinforced compound | Floors under vinyl or floating floors | 2–10mm | Adds flexibility, reduces cracking |
| Rapid-set compound | Time-poor projects | 2–10mm | Walkable in hours, tileable sooner |
Can you use self-levelling compound on a sloping concrete slab?
Yes, within reason. Self-levelling compound is designed to find its own level, so it will naturally correct a gentle slope. For slopes beyond about 10–15mm over a few metres, use a high-build or deep-fill product, and consider doing it in two thinner passes rather than one thick pour, which reduces the risk of cracking as it cures.
Mixing the Compound Correctly
Mixing ratios vary by brand, so always check the bag — but the general method stays the same:
- Pour the measured amount of clean water into a bucket first (always water first, then powder).
- Add the compound gradually while mixing with a paddle drill on low-medium speed.
- Mix for the manufacturer's stated time (usually 2–3 minutes) until lump-free and pourable, like a thick pancake batter.
- Let it slake (rest) for a minute, then give it a quick re-mix before pouring.
Don't eyeball the water ratio — too much water weakens the compound, too little makes it clump and level poorly.
How much self-levelling compound do I need for my floor?
As a rough guide, a 20kg bag covers about 3–4m² at 5mm depth. Use this formula:
Area (m²) × depth (mm) × 1.5kg ≈ compound needed in kg
So a 20m² room needing a 5mm average fill needs roughly 150kg — that's about seven to eight 20kg bags. Always buy 10–15% extra for low spots and wastage.

Applying Self-Levelling Compound Step by Step
- Mask skirting boards and doorways with painter's tape to protect them from splashes.
- Work in sections if the room is large — self-levelling compound sets quickly, so don't mix more than you can pour and spread in 10–15 minutes.
- Pour in a steady stream, starting at the lowest point or furthest corner from the door.
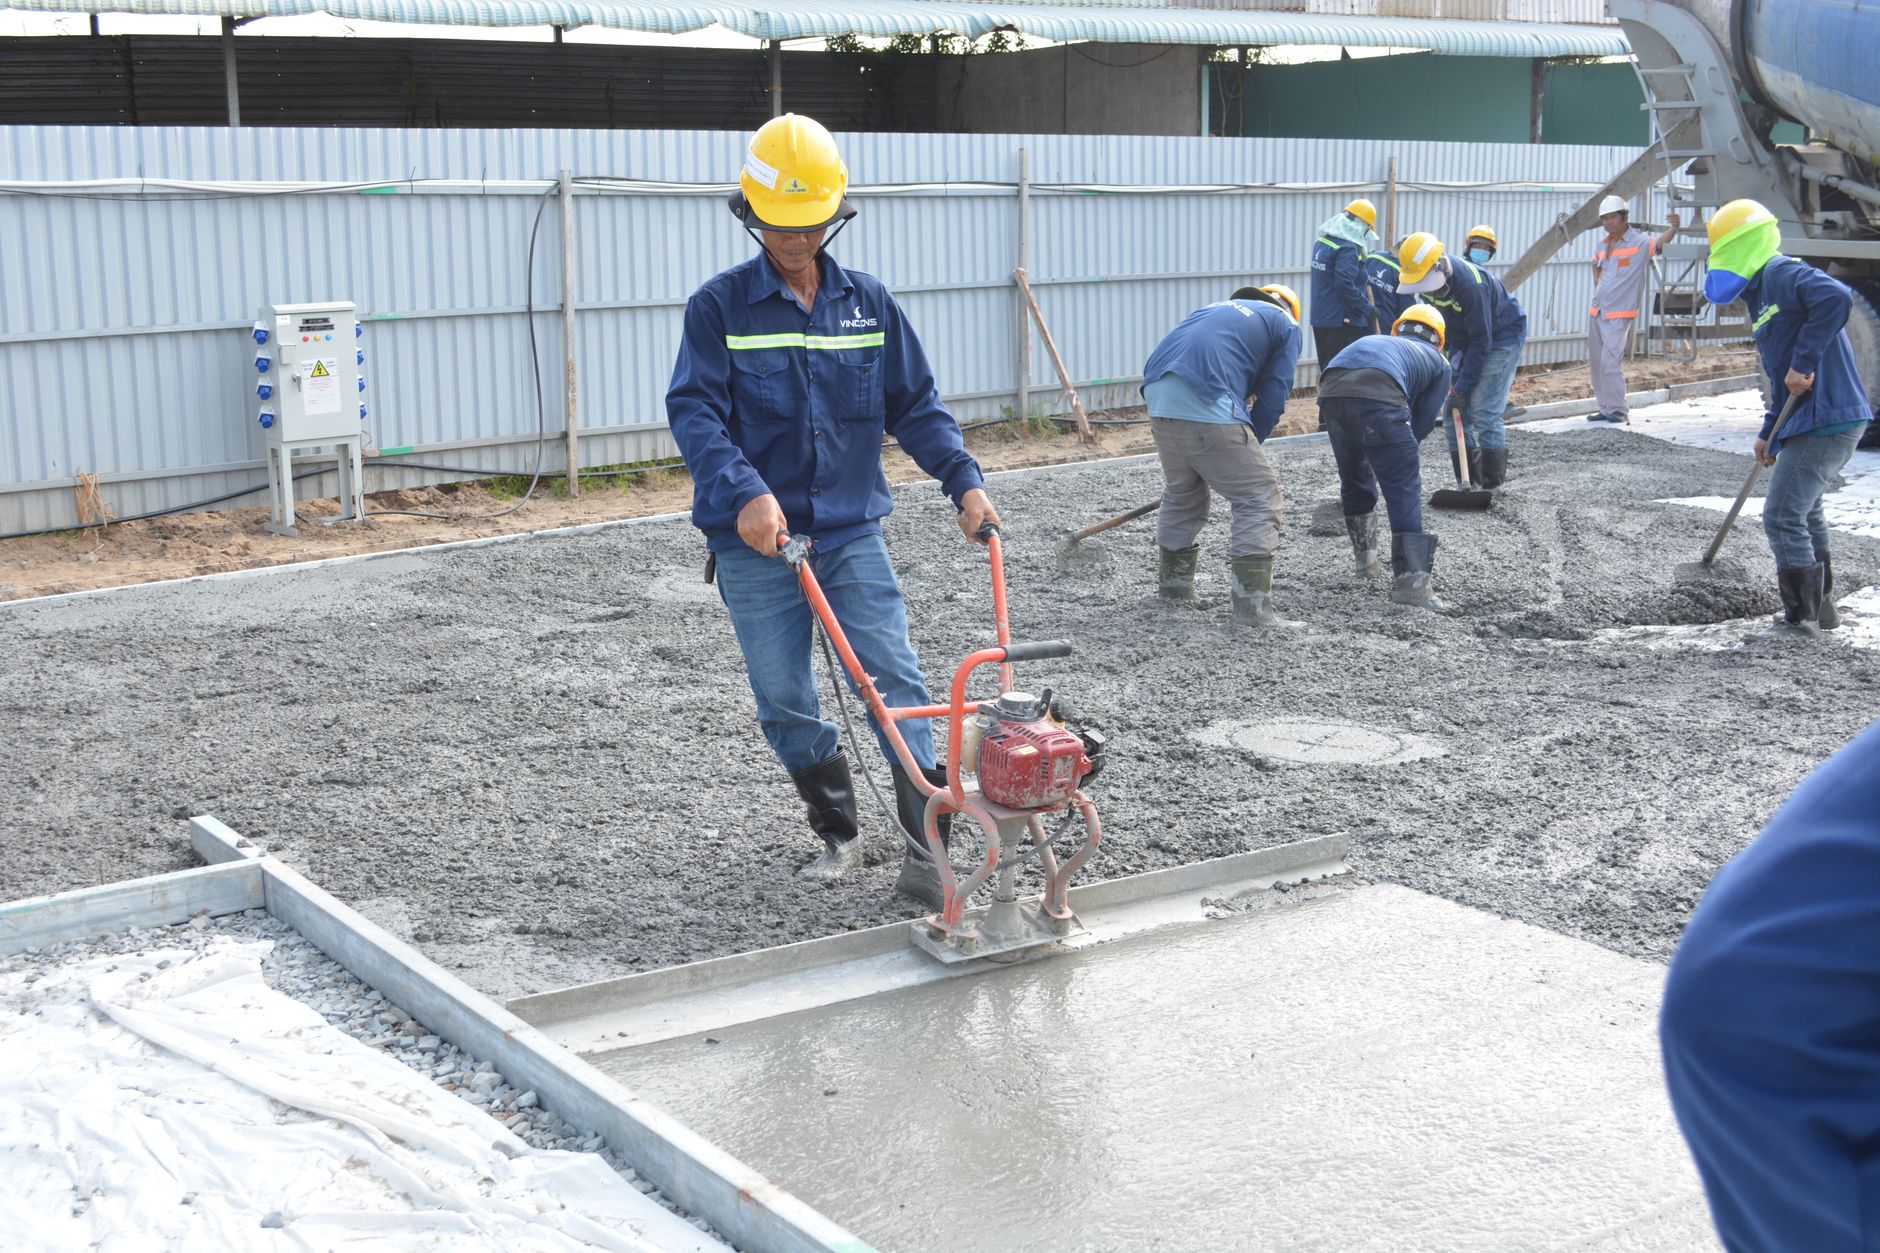
- Spread with a gauging rake to the desired thickness, letting the compound do most of the levelling itself.
- Run a spiked roller through the wet compound immediately to release trapped air bubbles.
- Keep moving toward the exit, working methodically so you don't trap yourself in a corner.
- Avoid foot traffic and draughts for the first few hours — open windows and fans can cause the surface to skin unevenly.
Curing Time and Next Steps
How long does self-levelling compound take to dry before tiling?
Most standard compounds are walkable within 3–6 hours and ready for tiling within 24 hours. Rapid-set products can be tiled in as little as 4–6 hours. However:
- Vinyl, timber laminate, and glue-down flooring usually need 48–72 hours minimum.
- Thicker pours (over 10mm) need longer — check the bag, as deep fills can take several days to fully cure.
- Always test with a moisture meter if you're laying moisture-sensitive flooring like timber.
Rushing this step is the single biggest cause of tile cracking and flooring failure after a levelling job.
Common Mistakes to Avoid
- Skipping the primer — leads to poor bonding and hollow-sounding patches.
- Mixing too much at once — compound starts setting in the bucket before you've poured it.
- Ignoring humidity and temperature — very hot days speed up setting time dramatically; cold days slow it down.
- Walking on it too soon — leaves permanent footprints and dents.
- Not checking for slope first — always map the floor with a laser level before you mix anything, so you know where the low spots actually are.
- Overworking the mix — trowelling it excessively undoes the self-levelling action; let it do the work.
Frequently Asked Questions
How do I fix an uneven concrete floor before laying tiles?
Clean and repair the slab, prime it, then pour a self-levelling compound suited to the depth of your dips. Let it cure fully (check the bag for tiling times) before you start setting tiles.
Can I use self-levelling compound over old tiles?
Yes, in many cases, provided the tiles are sound, clean, and degreased, and you use a bonding primer designed for non-porous surfaces.
Do I need a professional for this job?
Small to medium residential rooms are very doable as a DIY project. Large areas, structural cracks, or slabs with moisture issues are better handled by a concreter or flooring specialist.
Is self-levelling compound waterproof?
No — it's not a waterproofing product. Bathrooms and wet areas still need a proper waterproofing membrane over the top before tiling.
Bottom Line
Fixing an uneven concrete floor isn't glamorous work, but it's one of the most important steps in any flooring renovation. Clean and repair the slab properly, choose a self-levelling compound suited to your depth and flooring type, mix it exactly to spec, and give it the curing time it needs. Get the prep right and the pour itself is genuinely straightforward — and you'll end up with a flat, solid base that makes every job after it, from tiling to floating floors, far easier to get right.