How to Install Vinyl Plank Flooring: Click-Lock DIY Guide
Quick summary: Click-lock vinyl plank flooring is one of the easiest flooring types for Aussie DIYers to install, with no glue or nails required. Budget one weekend for an average-sized room, expect to pay between $25–$55 per square metre installed cost (materials plus your own labour), and make sure your subfloor is clean, dry, and level before you start. This guide walks through every step, from choosing the right plank to fixing common problems like gapping and lifting.
Vinyl plank flooring installation has become the go-to weekend project for Australian homeowners wanting a durable, water-resistant floor without hiring a tradie. The click-lock system means planks snap together like a puzzle — no adhesive, no nail gun, and no specialist skills required.
Whether you're renovating a bathroom, kitchen, or living area, this guide covers everything you need to get a professional-looking result.
What You'll Need Before You Start
Before you rip up old carpet or tiles, get your tools and materials sorted. Nothing kills DIY momentum faster than a hardware store run mid-project.
Tools and Materials
Here's your shopping list:
- Vinyl plank flooring (add 10% extra for cuts and waste)
- Underlay (if not pre-attached to your planks)
- Tape measure and pencil
- Utility knife or vinyl plank cutter
- Rubber mallet
- Tapping block and pull bar
- Spacers (8-10mm for expansion gaps)
- Moisture meter
- Spirit level or laser level
- Knee pads (trust us on this one)
The Vinyl plank flooring cutter tool is worth buying if you've got more than 20 square metres to cut — it's cleaner and faster than a utility knife and costs around $65-$90. For smaller jobs, a sharp Stanley utility knife at under $15 does the job fine.
Choosing the Right Vinyl Plank
Not all vinyl plank is created equal. You'll typically choose between:
- WPC (wood plastic composite) — thicker, more comfortable underfoot, better for uneven subfloors
- SPC (stone plastic composite) — harder, more dimensionally stable, best for high-traffic and wet areas
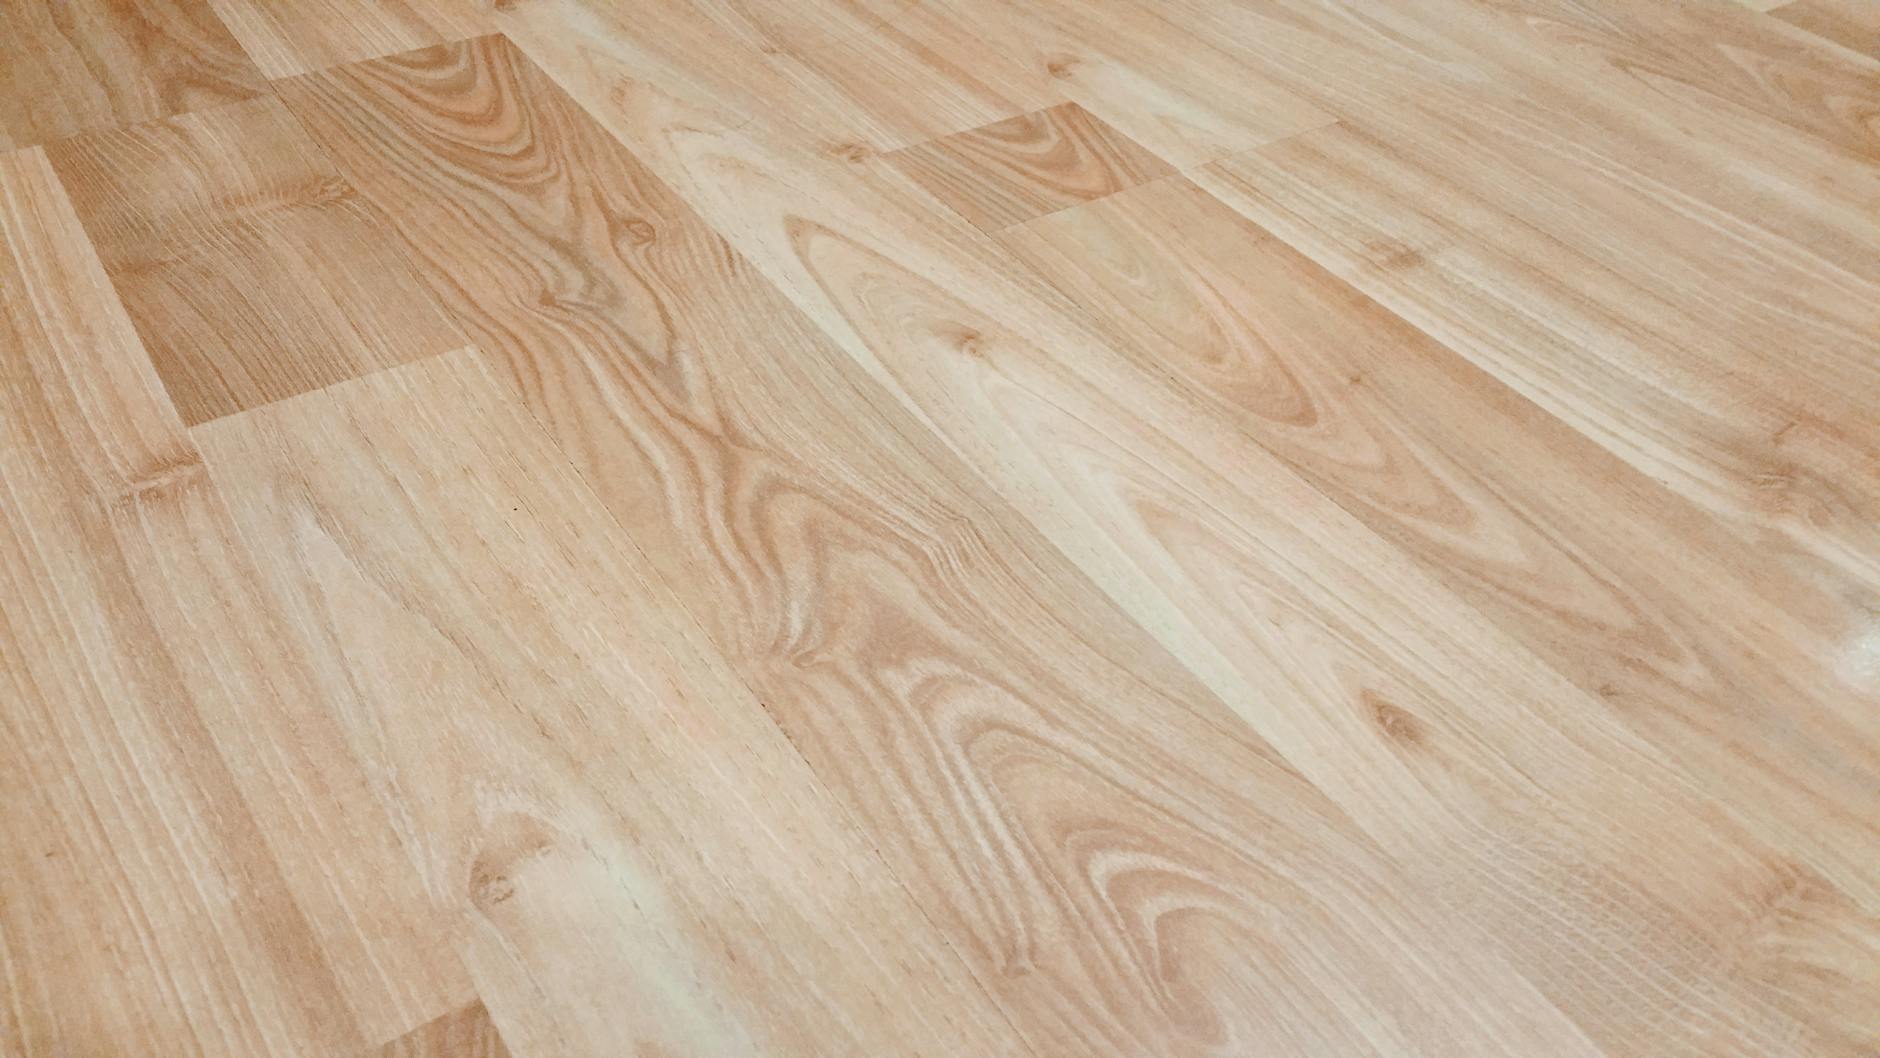
Look for a wear layer of at least 0.3mm for residential use, or 0.5mm+ if you have pets or high foot traffic. Bunnings stocks options like Kraus Toulon SPC hybrid flooring from around $39 per square metre, while Total Tools and Mitre 10 carry similar hybrid ranges.
Can you put vinyl plank flooring in a bathroom?
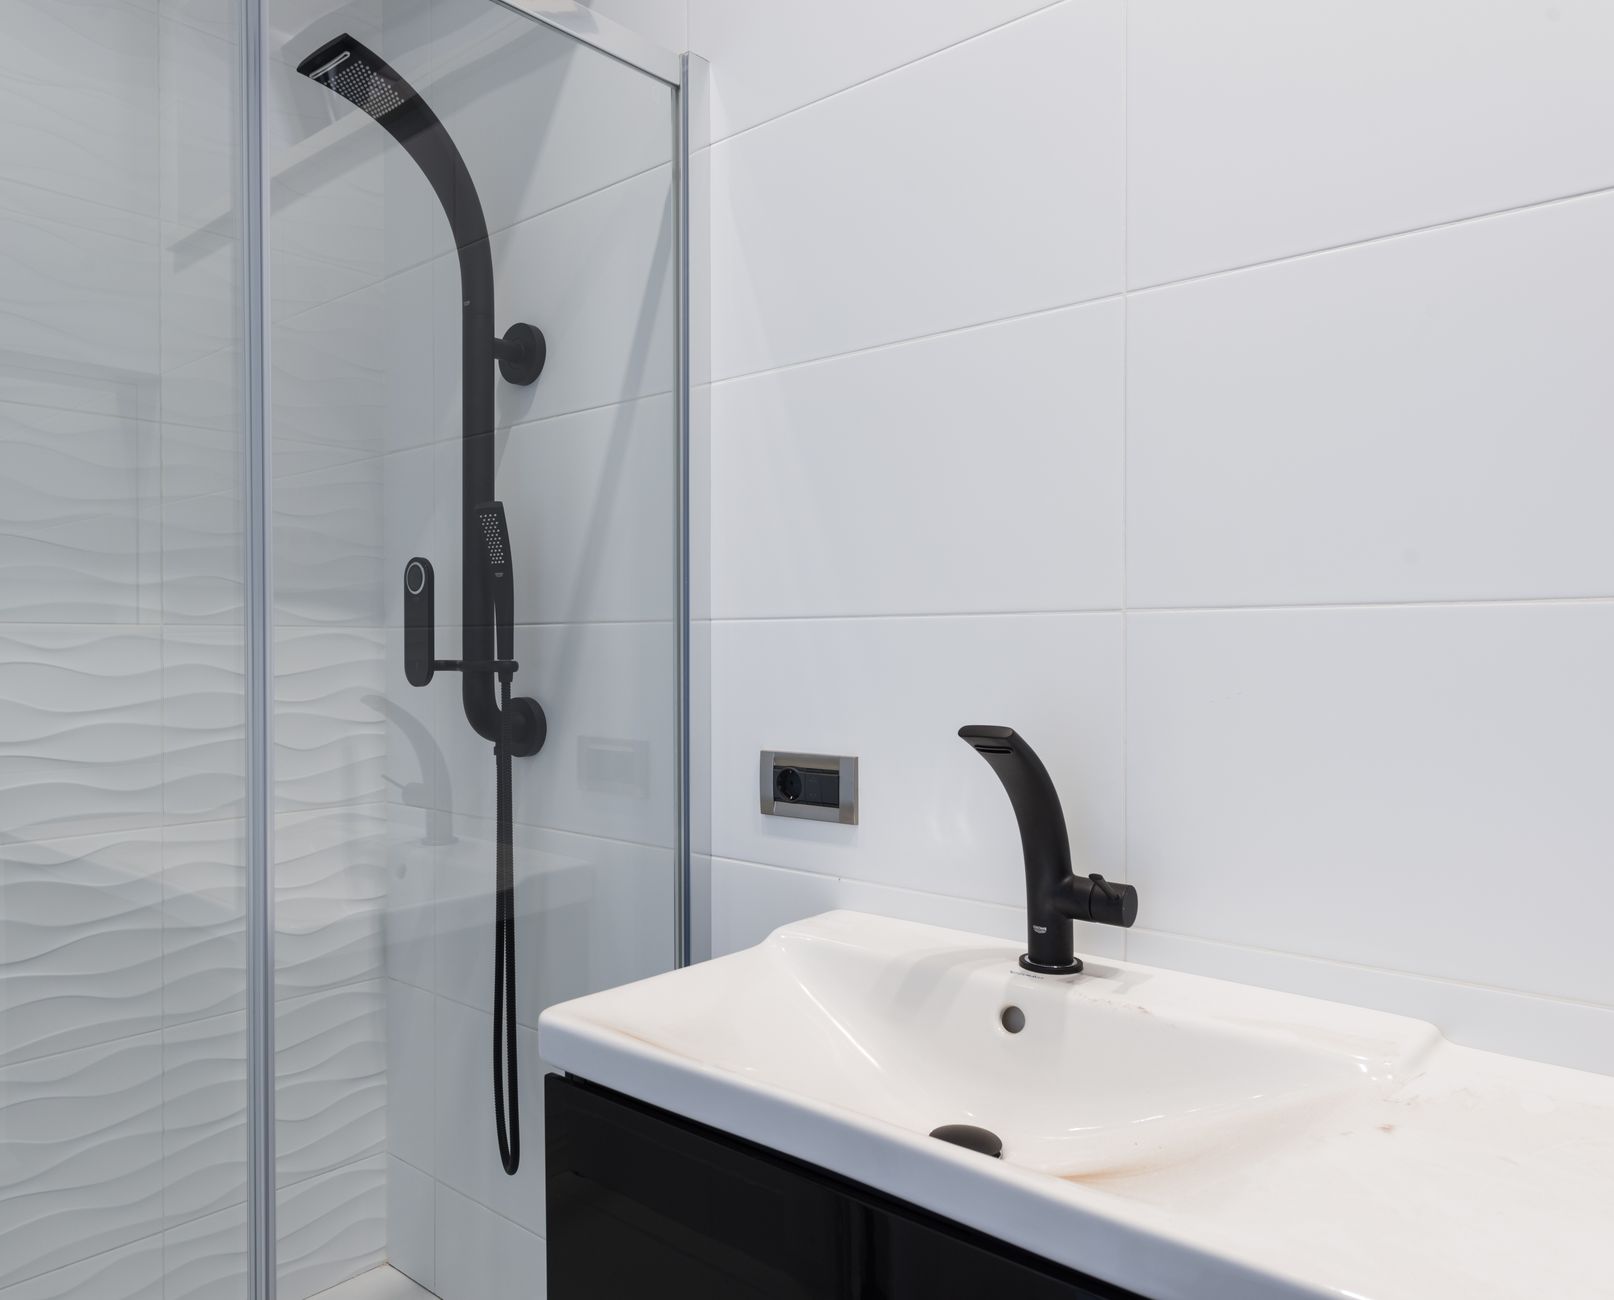
Yes — this is one of the biggest advantages of vinyl plank over timber or laminate. SPC hybrid flooring is 100% waterproof at the core, making it ideal for bathrooms, laundries, and kitchens. Just make sure you seal the perimeter with a quality silicone sealant where the floor meets the wall or vanity, since water can still seep through gaps in the click-lock joints if left standing.
Preparing Your Subfloor
This step gets skipped more than any other — and it's the reason most DIY vinyl floors fail within a year.
Checking for Moisture and Levelness
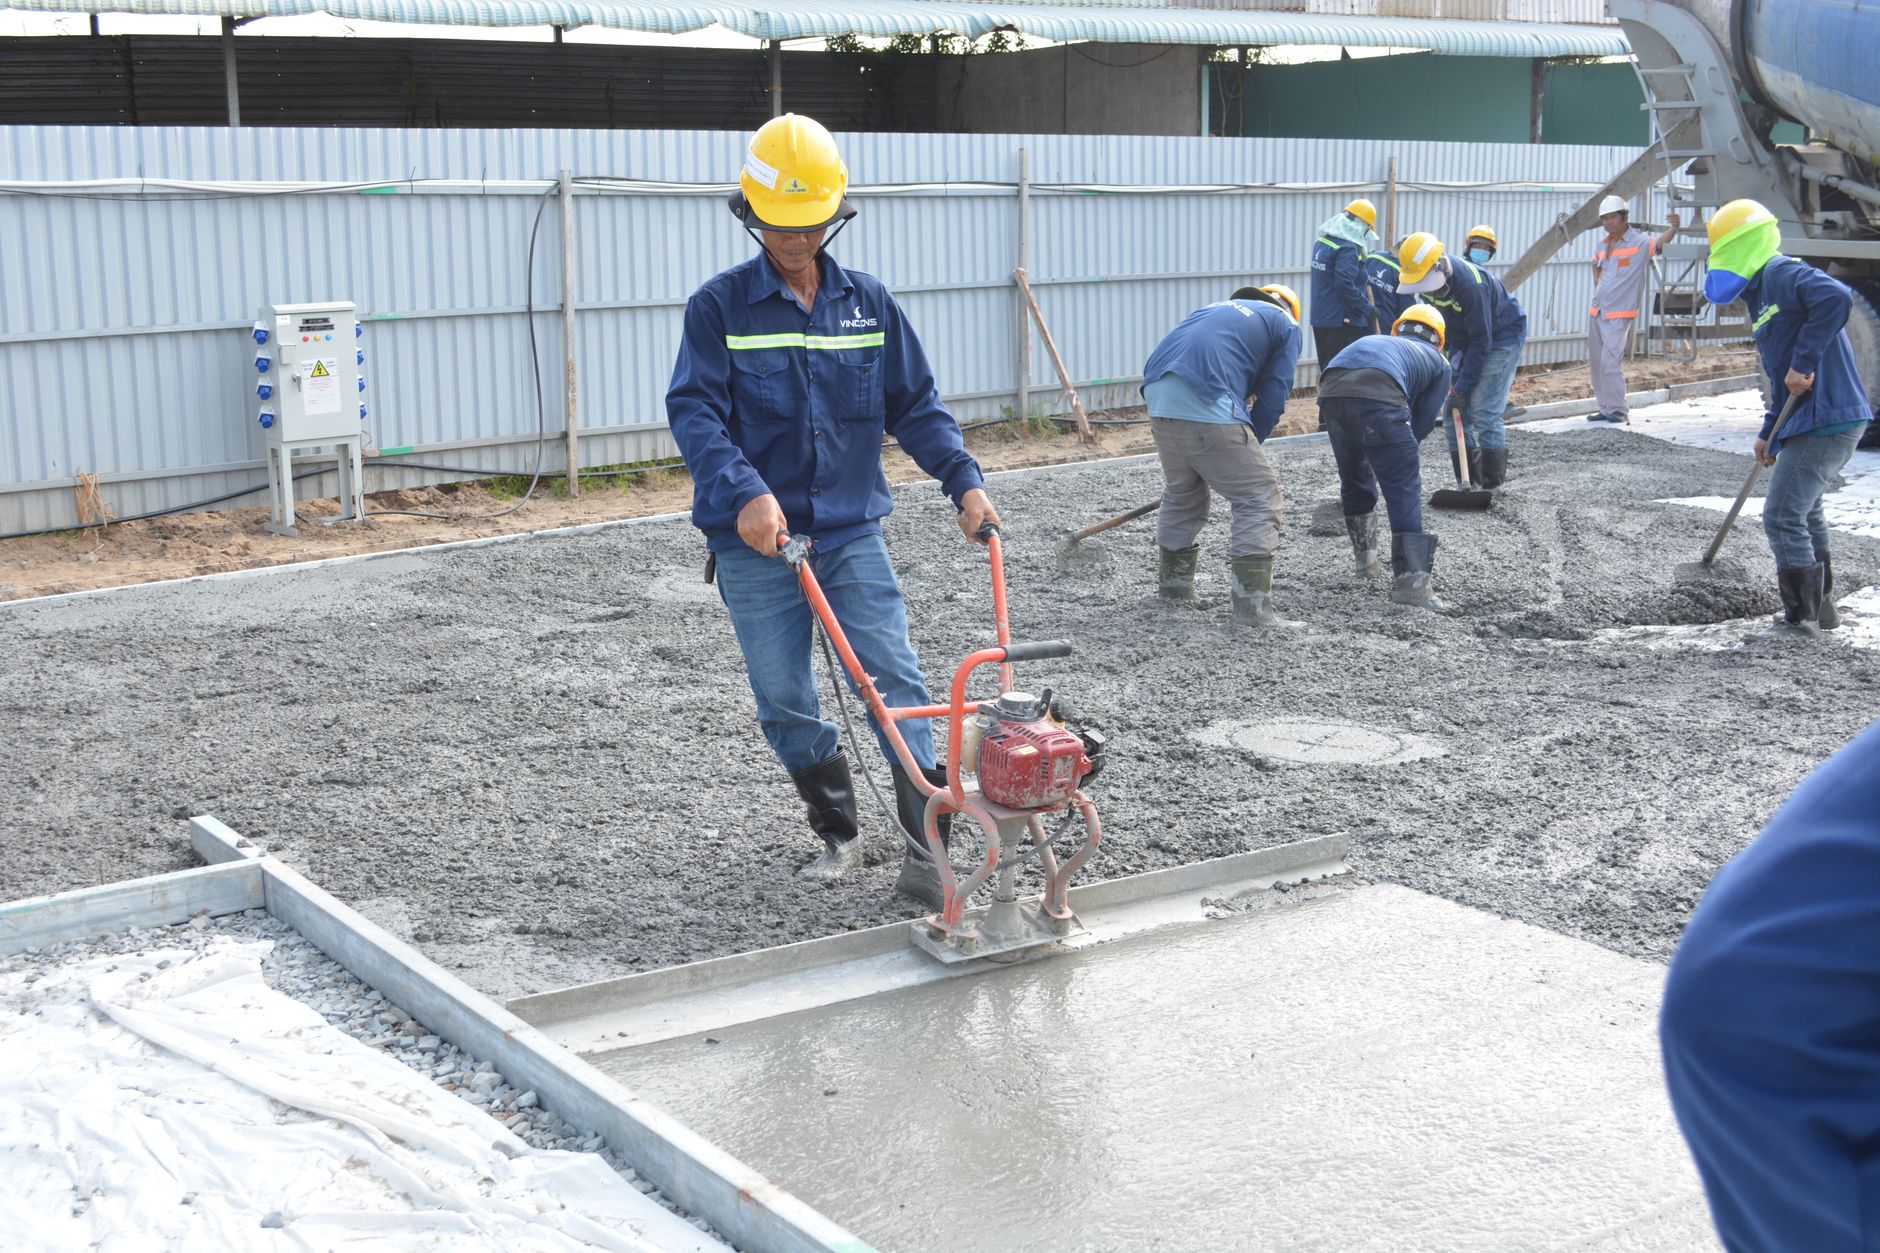
Your subfloor needs to be clean, dry, and flat to within 3mm over a 2-metre span. Any bigger dips or humps will telegraph through the planks and stress the click joints.
Use a moisture meter to test concrete slabs before laying anything. Readings above 5.5% (or as specified by your flooring manufacturer) mean you need a moisture barrier underlay, or you risk warping down the track.
Do you need underlay for vinyl plank flooring?
Most SPC and WPC planks come with an attached foam or cork underlay layer, so a separate underlay isn't always necessary. However, if you're laying over concrete, or want extra sound dampening and moisture protection, adding a separate underlay like Bostik underlay for vinyl flooring (around $8-$12 per square metre) is a smart move — particularly in older Australian homes with slab moisture issues.
Sweep and vacuum thoroughly, then fill any cracks or low spots with a self-levelling compound. Let it cure fully before moving on.
Planning Your Layout
Rushing the layout stage is how you end up with awkward slivers of plank against the far wall.
Calculating Plank Direction and Expansion Gaps
Lay planks running parallel to the longest wall or the main light source (usually the window wall) — this makes rooms feel larger and hides seams better.
Measure your room width and divide by the plank width. If your last row will be less than 50mm wide, trim the first row narrower so both end rows look balanced.
Leave an 8-10mm expansion gap around the entire perimeter, including doorways and fixed cabinetry. Vinyl expands and contracts with temperature changes, and skipping this gap is the number one cause of buckling.
Step-by-Step Installation
Now for the part you've been waiting for.
How do you install click-lock vinyl plank flooring yourself?
- Start in the left-hand corner of the room, spacers against both walls
- Lay your first plank with the tongue side facing the wall
- Click the short end of the next plank into place at a slight angle, then lower it flat
- Continue the row, cutting the last plank to fit (keep the offcut for starting the next row if it's over 30cm)
- Stagger joints between rows by at least 20cm for strength and appearance
- Use the pull bar to tighten joints against walls where the mallet can't reach
- Remove spacers once the floor is fully laid
Cutting Planks to Size
Score the plank face-up with your utility knife using a straight edge, then snap it along the line — vinyl planks snap cleanly like laminate. For notches around door frames or pipes, a jigsaw with a fine-tooth blade gives cleaner results than a knife.
Locking the Click System
Angle the long edge of each new plank into the previous row at roughly 20-30 degrees, then push down firmly until you hear and feel the click. For end joints, use your tapping block and rubber mallet — never hit the plank directly, as this can chip the locking edge.

Finishing Touches
Installing Skirting and Transition Strips
Once the floor is down, reinstall or replace your skirting boards to cover the expansion gap — never nail skirting through the vinyl planks themselves, as this prevents natural movement.
At doorways or transitions to tile and carpet, use a transition strip such as T-molding transition strip vinyl flooring (around $25-$45 depending on length) to create a clean, professional edge.
Troubleshooting Common Problems
Even careful installs can run into issues, especially in Australia's variable climate.
Fixing Gapping and Lifting
What causes gaps in vinyl plank flooring after installation?
The most common causes are:
- Insufficient expansion gap at the perimeter
- Subfloor movement or an uneven base
- Temperature extremes without acclimatisation (planks should sit in the room for 48 hours before installing)
- Furniture or heavy loads pushing planks out of alignment
Small gaps can often be closed by using a pull bar and rubber mallet to re-seat the joint. Persistent gapping usually means the expansion gap was too tight and needs to be reopened at the skirting.
Dealing with Uneven Surfaces
If you notice hollow spots or slight movement underfoot after installation, it usually points to an unlevel subfloor that wasn't fully corrected before laying. Small dips can sometimes be fixed by injecting a levelling compound beneath the affected area through a drilled access point, but in most cases, you'll need to lift the affected planks and re-level properly.
Maintenance Tips for Long-Lasting Floors
Vinyl plank flooring is low-maintenance, but a few habits will extend its life significantly:
- Use felt pads under furniture legs
- Sweep or vacuum regularly to avoid grit scratching the surface
- Clean with a pH-neutral vinyl floor cleaner, not harsh chemicals or steam mops
- Wipe up spills promptly, especially in kitchens
- Avoid dragging heavy appliances across the floor
How much does it cost to install vinyl plank flooring in Australia?
| Cost item | Price range (per m²) |
|---|---|
| Budget SPC/WPC plank (Bunnings/Mitre 10) | $25 – $35 |
| Mid-range hybrid plank | $40 – $55 |
| Underlay (if needed) | $8 – $12 |
| Skirting/transition strips (per room) | $80 – $150 total |
| Professional installation (if hired later) | $35 – $50 |
DIY installation typically saves $35-$50 per square metre compared to hiring a professional — for a standard 20m² living room, that's a saving of $700-$1,000.
Bottom Line
Vinyl plank flooring installation is genuinely one of the most achievable DIY flooring projects for Australian homeowners, even if you've never laid a floor before. The click-lock system does most of the heavy lifting — your job is simply to prep the subfloor properly, plan your layout, and take your time with the first few rows.
Get those fundamentals right, and you'll have a durable, waterproof, great-looking floor that costs a fraction of professional installation and lasts well over a decade.